How to Plan a Bathroom Remodel Step by Step
This site contains affiliate links. I may earn a small commission, at no extra cost to you.
So, you’ve finally had it with that 1980s pink tile and the leaky faucet that sounds like it’s plotting your demise every night. You’re ready to finally plan your bathroom remodel—but where the heck do you start? Don’t worry, I’ve been there. It’s like opening Pandora’s box of plumbing, tile samples, and “wait, how much does that cost?!”
Planning a bathroom remodel step by step sounds simple in theory, but trust me—if you wing it, you’re signing up for chaos. And nobody wants to shower next to exposed drywall for six months (been there, don’t recommend). Let’s break it down the right way—minus the boring lingo and with a few laughs along the way. 😎
Step 1: Figure Out What You Really Want
Okay, real talk: before you start ripping out your tub with a sledgehammer like you’re on HGTV, take a minute to figure out what you’re actually trying to achieve. Is it about more space? Better lighting? Or do you just want to stop staring at that avocado-green toilet every day?
Ask Yourself These Questions First
- What do I hate about my current bathroom?
- What’s my budget (and no, “as cheap as possible” doesn’t count)?
- Am I doing this for resale value or personal joy?
- Do I need a tub, or can I finally embrace the grown-up walk-in shower life?
Be brutally honest with yourself. If you’re dreaming of spa vibes but your wallet says “more like hostel chic,” we’ll have to get creative. 😅
Step 2: Set a Budget That Won’t Destroy Your Soul
This part isn’t sexy, but it’s where most remodels go off the rails. You need a number. And you need a buffer, because something will go wrong.
Typical Bathroom Remodel Budget Breakdown
Here’s a rough idea of how your budget might shake out:
- Labor: 40–60%
- Fixtures & materials: 30–40%
- Unexpected surprises (hello, mold): 10–20%
FYI, if you’re thinking, “Pfft, I’ll just DIY the whole thing,” unless you moonlight as a plumber or tile master, maybe don’t. Some things are worth the splurge—like not flooding your home. 🙂
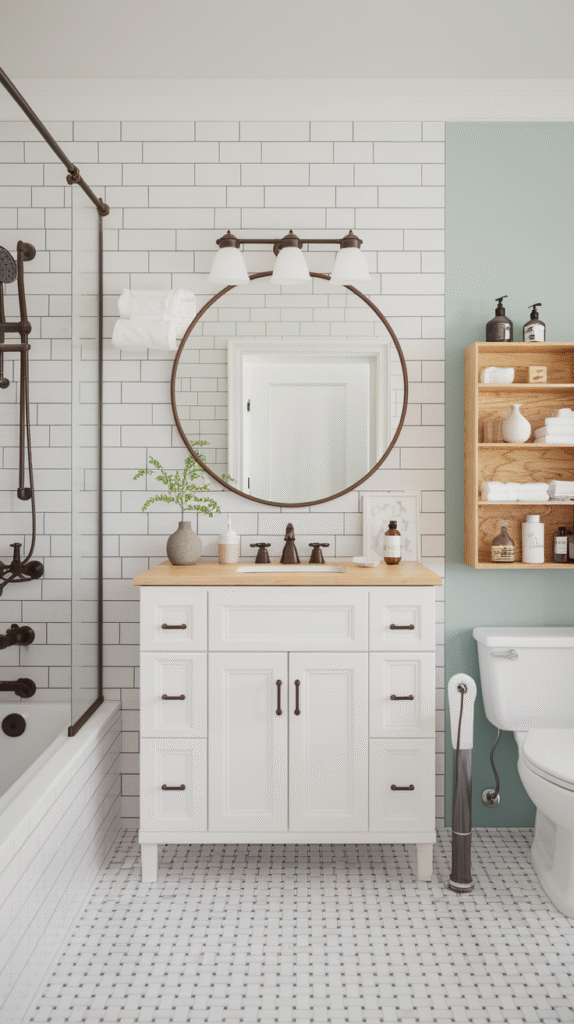
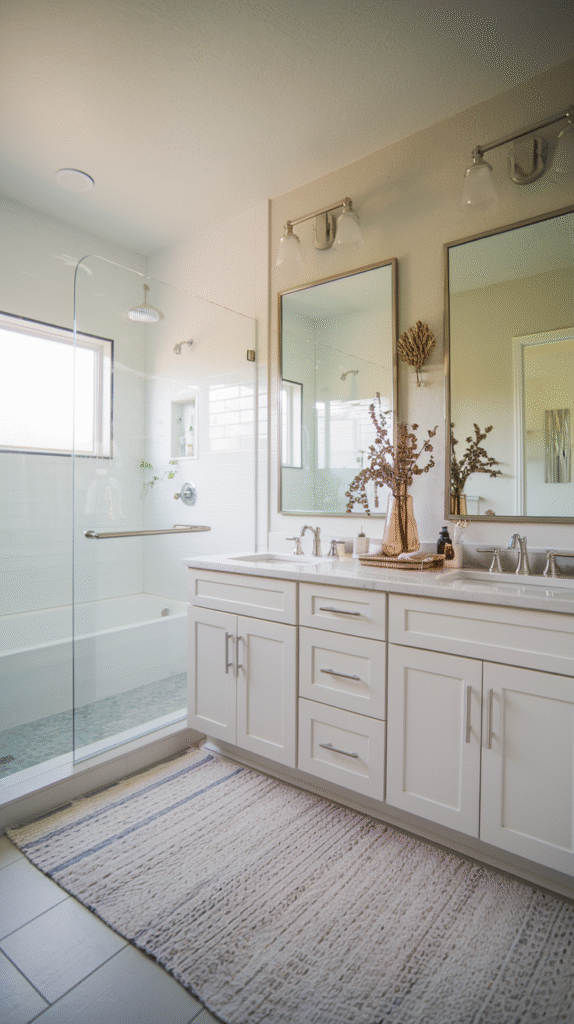
Step 3: Get Inspired (Without Getting Overwhelmed)
This is the fun part—Pinterest boards, Instagram saves, and those dreamy mood boards. But also? It’s a trap. You’ll go in thinking you want a modern farmhouse look and come out considering Japanese minimalism meets jungle glam.
Keep It Focused During Bathroom Remodel
- Pick a style and color palette early—stick to it.
- Save reference images that actually match your bathroom size (a 10-ft ceiling might not be in your cards).
- Prioritize functionality over fantasy. That floating vanity looks amazing… until you realize it has zero storage.
IMO, having 3-5 inspo photos you love is better than hoarding 300 you’ll never commit to. 😬
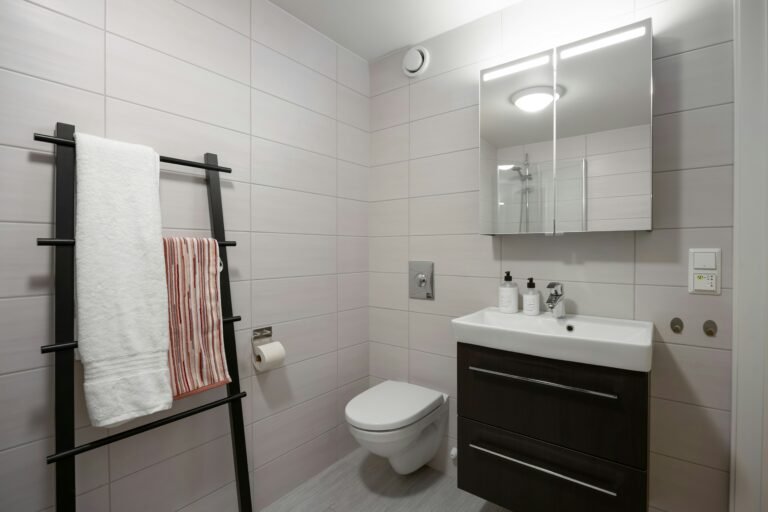
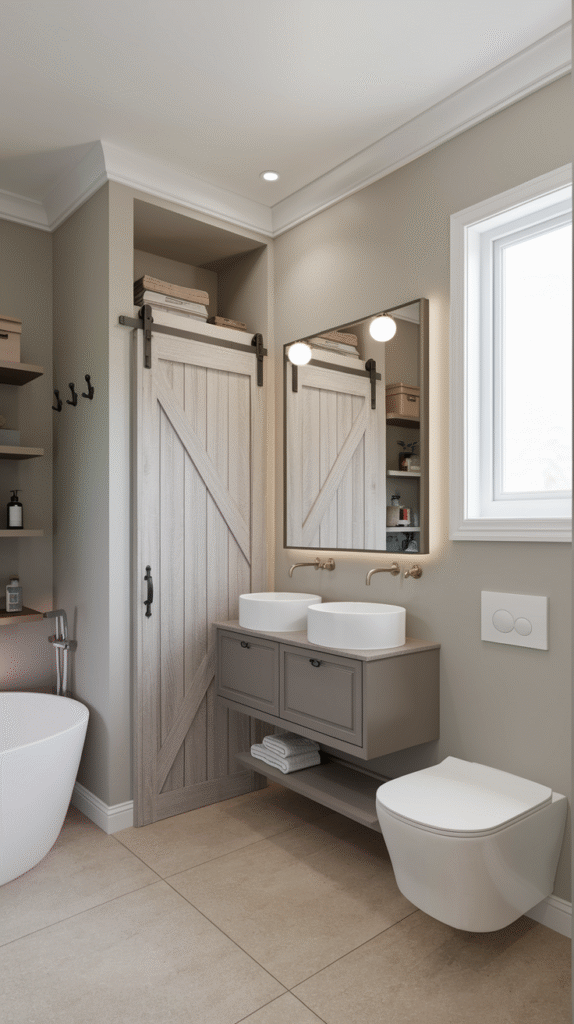
Step 4: Plan Your Layout (And Don’t Get Weird About It)
Unless you have a massive budget, changing your bathroom layout is a slippery slope. Moving plumbing gets expensive—like “maybe I’ll just live with this weird corner tub” expensive.
Stick With These Layout Rules
- Keep the toilet in a discreet spot—no one wants to make eye contact with the throne when they walk in.
- Make sure there’s enough clearance for drawers, doors, and knees (yes, that’s a thing).
- If you’re tight on space, go for wall-mounted fixtures or sliding doors.
Pro tip: Tape the layout on your bathroom floor to see how it feels. It’s low-tech but super helpful.
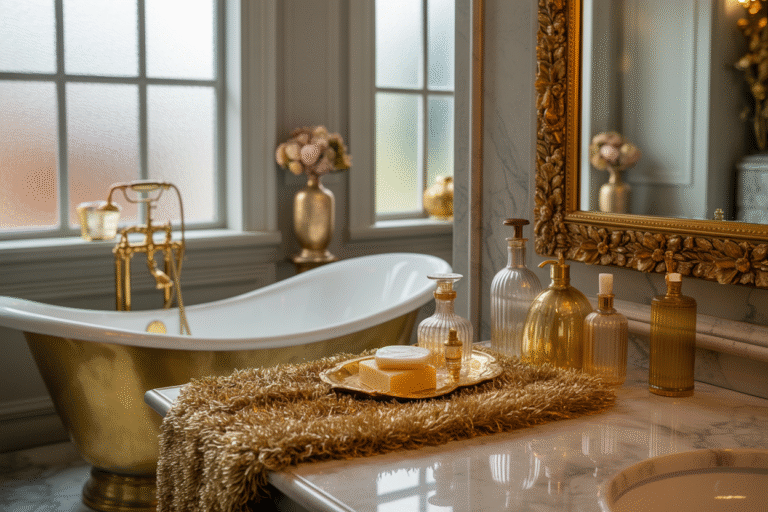
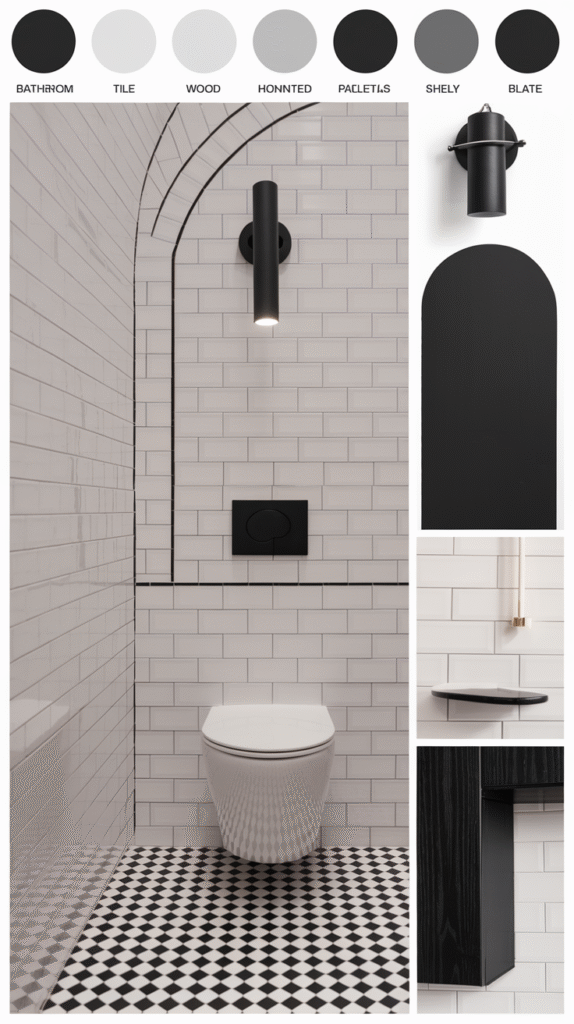
Step 5: Choose the Right Materials (That Won’t Make You Cry Later)
Not all tiles are created equal. That slick marble you love? Yeah, it turns into an ice rink when wet.
Pick Materials That Are Built for Bathroom Life
- Flooring: Porcelain tile > ceramic (more durable and less porous)
- Walls: Waterproof paint or tile up to a certain height
- Vanity tops: Quartz or granite are fab; laminate… not so much
- Fixtures: Go for finishes that resist water spots and fingerprints (brushed nickel or matte black FTW)
Bold choices are great—but always ask: “Can I live with this every day for the next 10 years?” If the answer is “ehhh,” maybe reconsider that neon grout. 😬

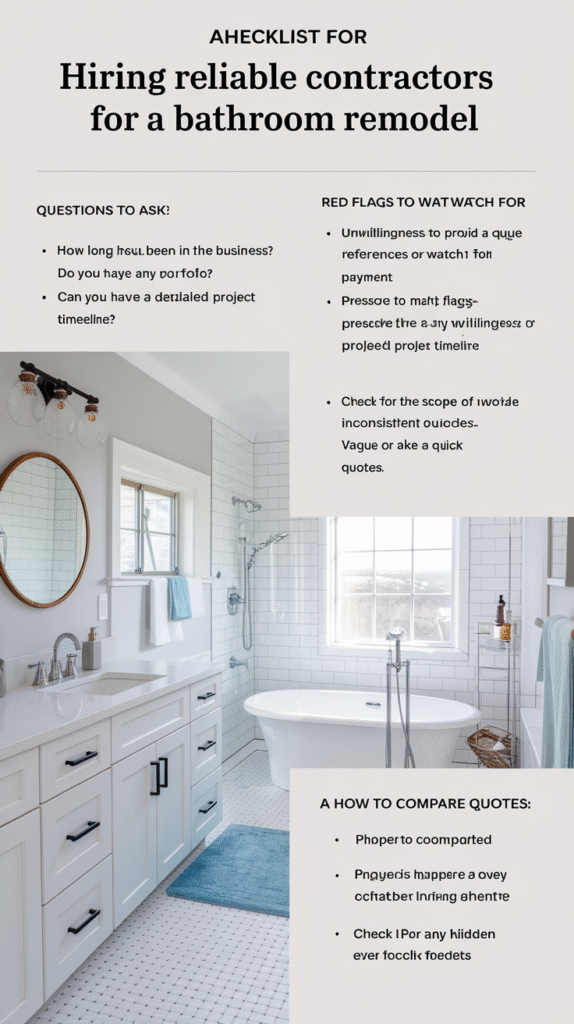
Step 6: Find the Right Pros (or Not, If You’re Brave)
Even if you love DIY, some things are just better left to the professionals. Plumbing, electrical, major tiling? That’s not the place to experiment unless you want to star in your own disaster documentary.
Hire Wisely
- Ask for references, licenses, and insurance.
- Get multiple quotes—but remember, cheapest =/= best.
- Read reviews like your life depends on it.
If you’re going the DIY route, be realistic about your limits. Watching five YouTube videos does not make you an electrician. 😅 Just saying.
Step 7: Get Permits and Approvals (Yeah, You Probably Need Them)
Ugh, paperwork. I know. But skipping permits can backfire big time—like, “you can’t sell your house until you tear out that illegal plumbing” bad.
What Might Require a Permit?
- Moving plumbing or electrical
- Installing a new window or skylight
- Major structural changes
Check your local building department (or your contractor will handle this). It’s not fun, but it saves a ton of headaches.
Step 8: Order Everything (Yes, Before Demo)
This is the step people love to skip—and then they’re brushing their teeth in the kitchen sink for three months.
Order in This Order
- Fixtures (toilet, tub, vanity)
- Tile and flooring
- Lighting and mirrors
- Paint and finishing touches
Pro move: Have everything on-site before demo starts. That way your contractor isn’t twiddling their thumbs while your dream vanity is “still in transit.”
Step 9: Demo Time—Get Messy (But Not Reckless)
Smashing tile feels amazing… until you accidentally knock out a pipe or uncover a horrifying mold situation.
During Demo, Remember:
- Shut off water and electricity (please don’t skip this).
- Contain the dust with plastic sheeting and floor covers.
- Wear safety gear—yes, goggles and gloves, even if you want to look cool.
And keep a shop vac handy. Dust will find its way everywhere.
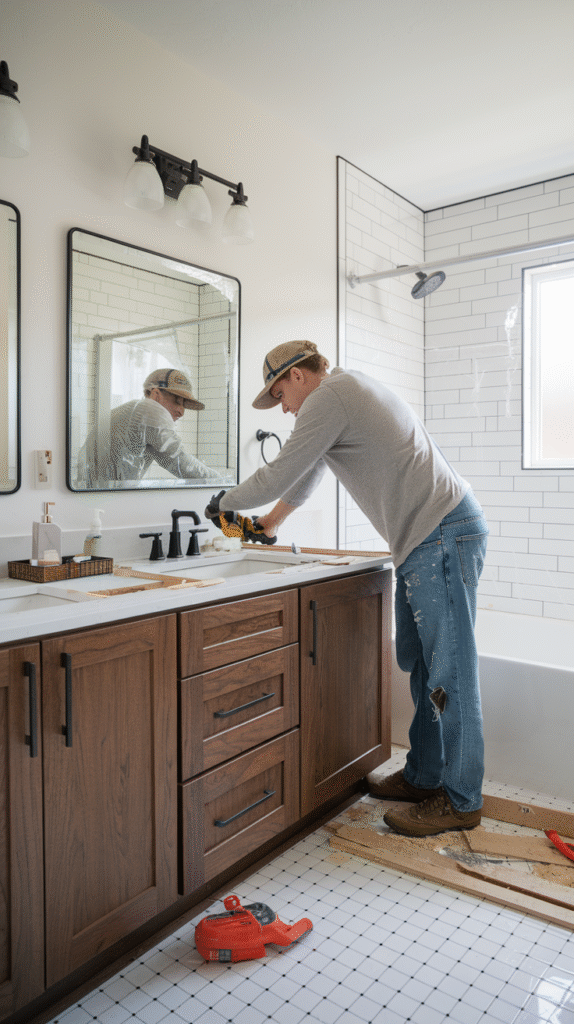
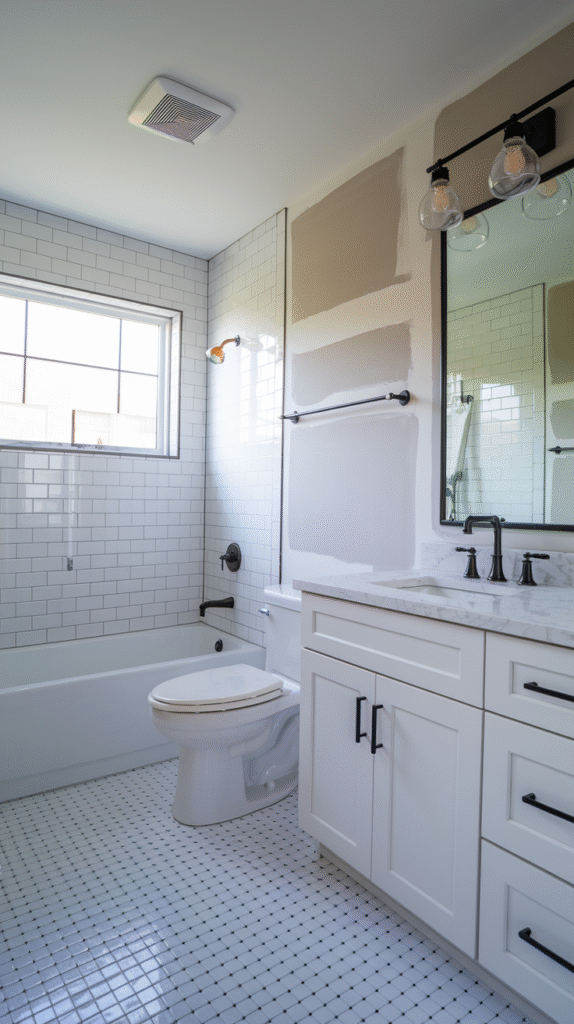
Step 10: Installation—Let the Magic Happen
This is when your vision starts to come to life. Tile goes up, fixtures get installed, and suddenly it looks like a real bathroom again.
Stay On Top of the Process
- Check in daily with your contractor or yourself (if DIYing).
- Double-check all measurements before things get mounted.
- Take photos for reference and memories—trust me, you’ll want a before-and-after collage.
Expect delays, btw. If everything goes 100% to plan… are you even remodeling? 😂
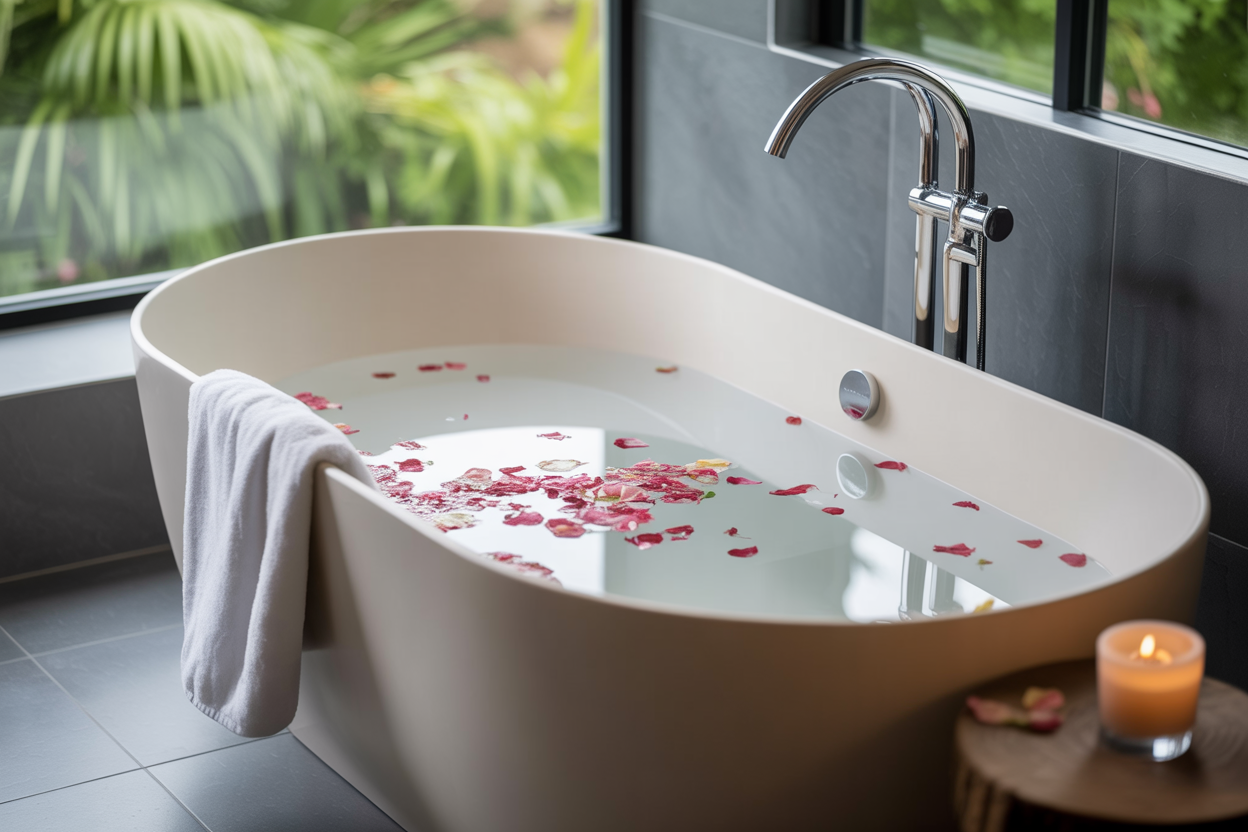
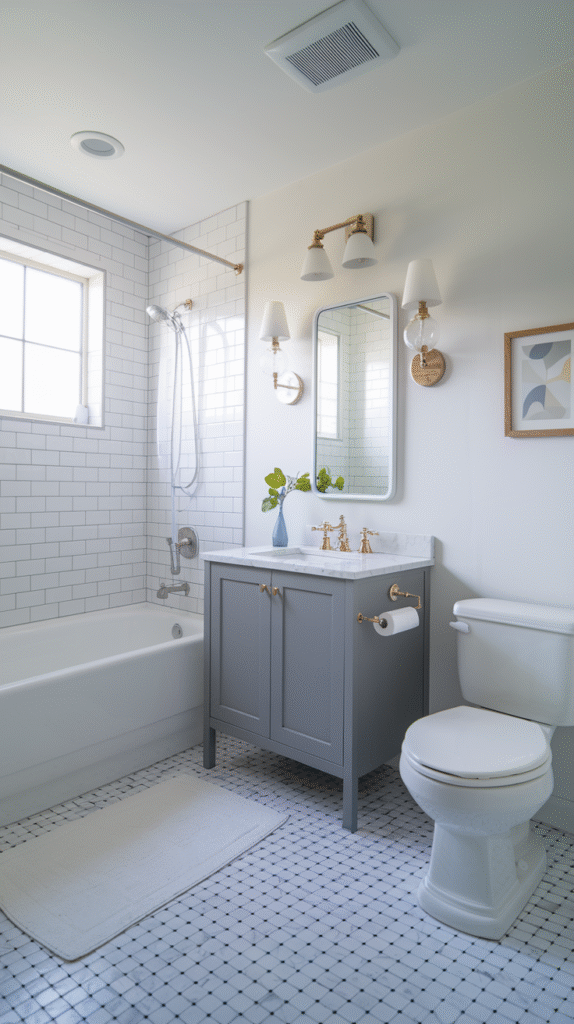
Step 11: Add Finishing Touches (Aka the Fun Part)
You survived. Congrats! Now it’s time for the cute stuff—decor, organization, and accessories.
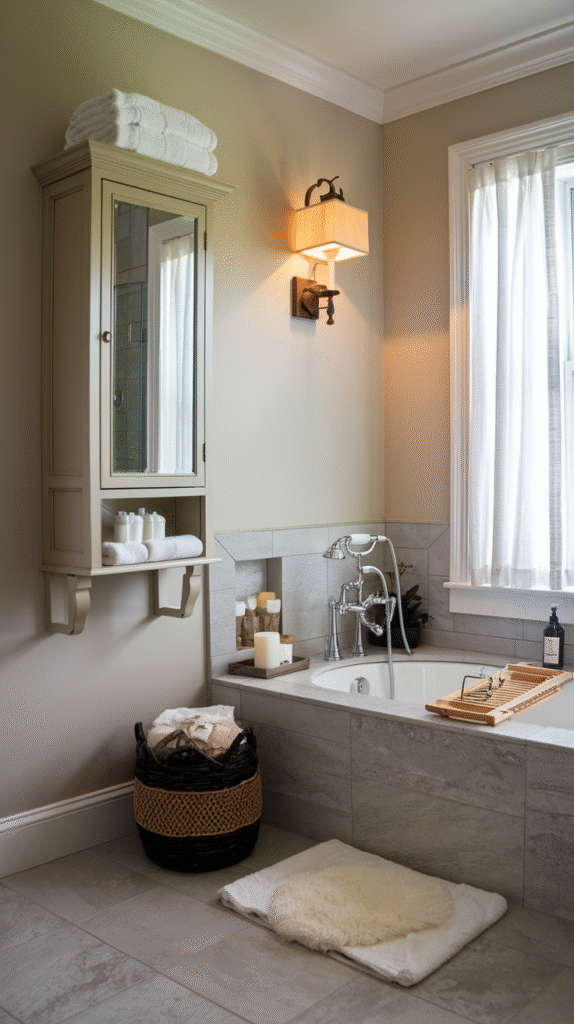
Bathroom Glow-Up Tips During Remodel
- Add some greenery (faux or real—no judgment).
- Invest in fluffy towels and a chic bath mat.
- Use baskets or trays to corral clutter.
- Install dim lighting or candles for those spa vibes.
This part makes all the chaos worth it. Light that overpriced candle and bask in your renovation glory. ✨
Final Thoughts: You’ve Got This
Planning a bathroom remodel step by step might feel like a lot—but taking the time to do it right saves money, stress, and sanity. Trust me, you’ll thank yourself later when you’re soaking in a gorgeous tub instead of wondering why your new sink won’t stop leaking.
So grab your notepad, channel your inner interior designer, and get started. You don’t need to be an expert—you just need a plan.
And hey, if all else fails, at least you’ve got some epic “before” photos to laugh at. 😉