How to Edge a Flower Bed
This site contains affiliate links. I may earn a small commission, at no extra cost to you.
If you are looking for a way to edge a flower bed, this article is about how to edge a flower bed.
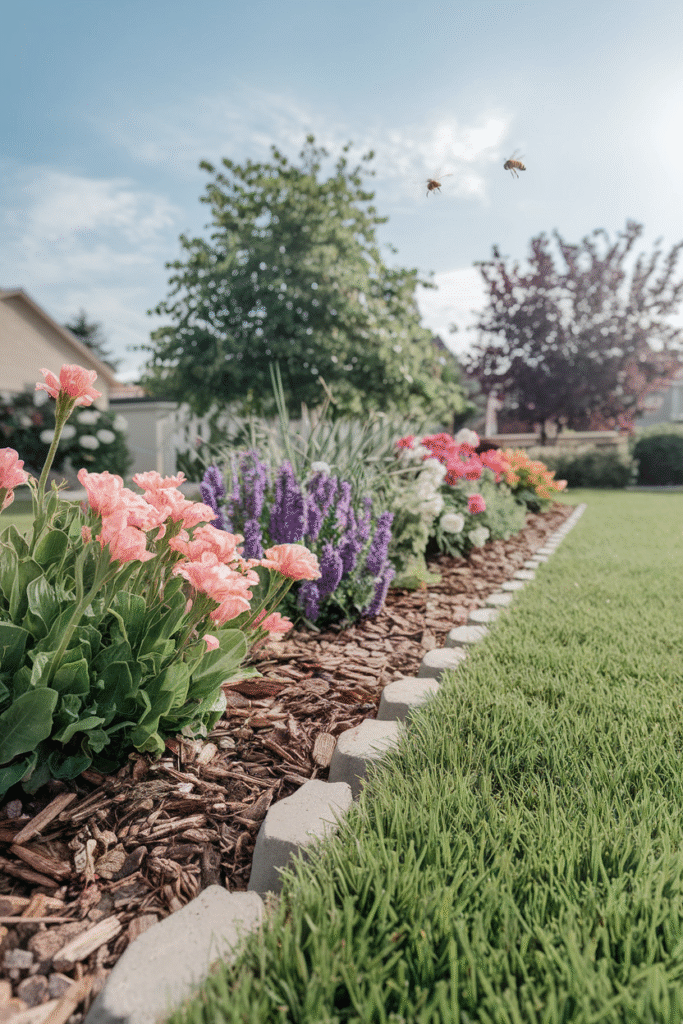
Let’s get real for a sec—nothing ruins a beautiful flower bed faster than messy edges. You’ve got your blooms lookin’ all fabulous, bees are buzzing like they’re paying rent, and then… the mulch starts spilling into your lawn like it’s trying to escape. Ugh. That’s where edging comes in, my friend. And don’t worry—creating an edge isn’t rocket science. You don’t need a landscaping degree or a $400 power tool. You just need a plan, a shovel, and maybe a podcast to get you through the digging part.
I’ve done this more times than I can count (and I’ve got the sore back to prove it), so trust me when I say: you’ve got this. Let’s talk through how to create an edge for your flower bed—step by step—with all the tips, laughs, and oops, don’t do that moments you’ll need along the way.
Why Bother With a Flower Bed Edge Anyway?
I get it. It’s one more thing to add to the weekend to-do list. But edging actually saves you time and stress in the long run. Here’s the deal:
- It keeps grass and weeds from creeping into your flower bed.
- It makes mowing and trimming easier and cleaner.
- It adds definition and makes your yard look finished.
Think of it like putting on mascara at the end of your makeup routine. Everything looks fine without it, but with it? Way more polished.
Planning Your Flower Bed Edge Like a Pro
Okay, before you grab a shovel and go full beast mode on your lawn, take a hot minute to plan. Yes, planning is the boring part—but it makes the digging part suck less.
Decide On the Shape
Curves or straight lines? Formal or a little wild? That decision sets the tone for everything else. I’m personally a fan of gentle, flowing curves—they feel more natural and are surprisingly easier to mow around. But hey, if you’re a straight-line type of person, own it.
Mark Your Border
I always use a garden hose or some string to map it out first. You can move it around until it feels right. Once it’s locked in, go over the line with spray paint or sprinkle flour to mark your path. Weird tip, I know. But flour works amazingly well and washes away with rain. Boom.
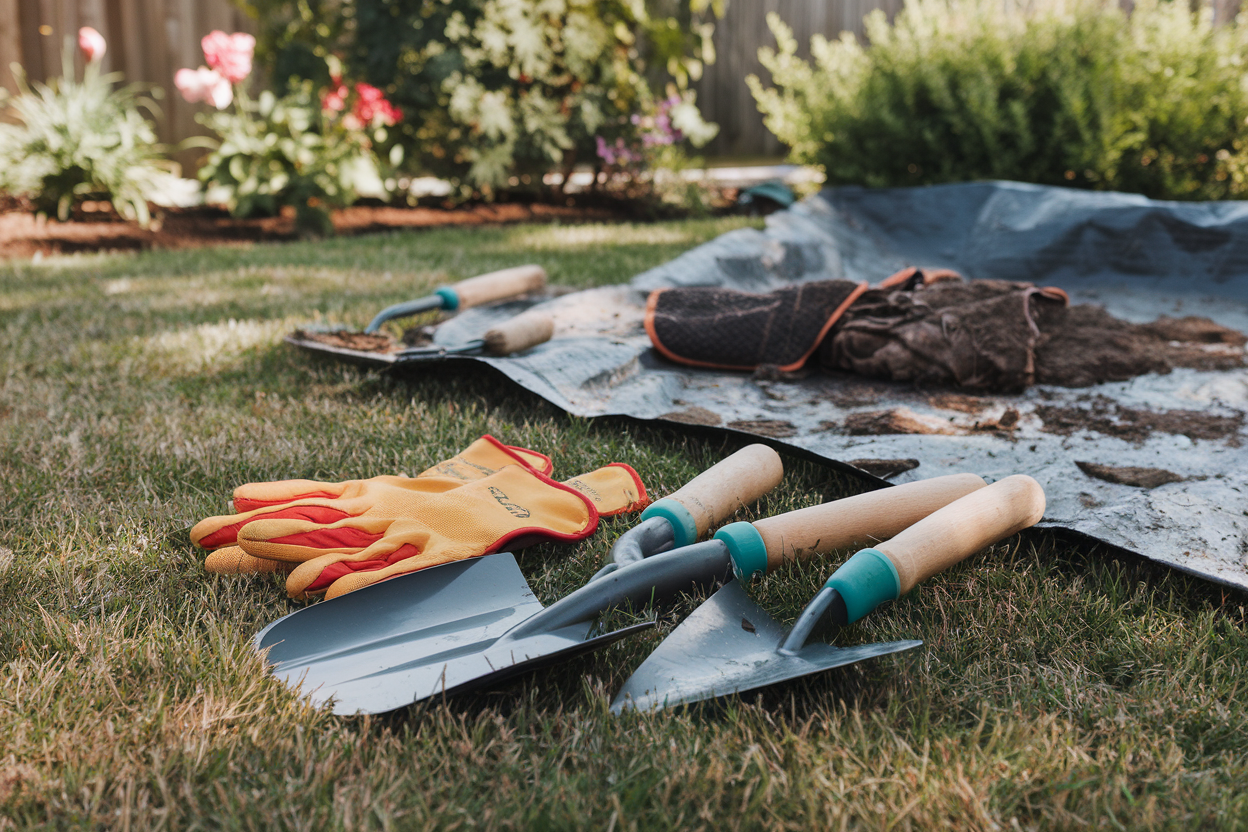
Tools You’ll Need (No Fancy Gear Required)
You don’t need to rent heavy equipment or summon a landscape crew. Most of the time, you can get the job done with just a few basics:
- Flat-edged spade or edging shovel (aka your new best friend)
- Gloves (unless you’re into blisters and dirt under your nails)
- Garden trowel for detailed spots
- Wheelbarrow or tarp to toss the dug-up sod
- Optional: rubber mallet, garden shears, or edging tool if you’re installing materials like bricks or metal strips
Oh, and hydration. Don’t forget that. You’re going to be doing a lot of squatting and digging. It’s basically yard yoga.
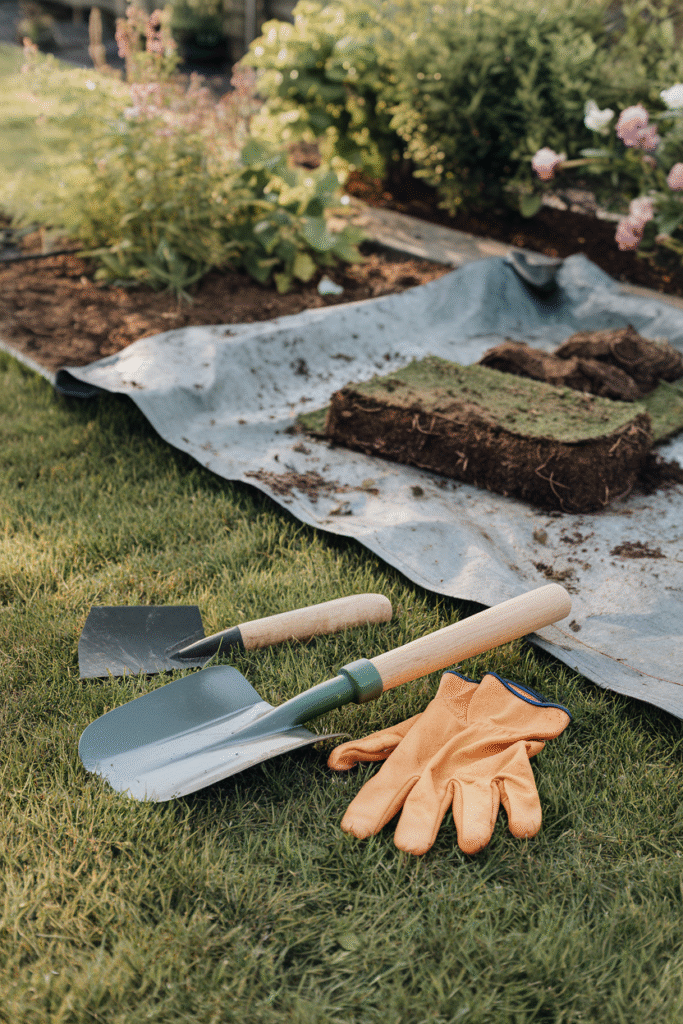
Digging the Edge: Time to Get Dirty
Alright, this is where the magic happens. And by “magic,” I mean sweat. But it’s worth it.
Start With a Clean Cut
Use your edging shovel to slice down along the marked line. Push straight down about 4–6 inches deep, depending on how dramatic you want your edge to be. I like to stomp the shovel down with my foot—just don’t miss and end up launching your sandal into the flower bed. Not that I’ve done that… recently.
Remove the Strip of Sod
Now you’re going to cut a second line about 3–4 inches inside the one you just made, and remove that strip of grass. What you’re left with is a nice, clean trench. Not too wide, not too narrow—just right. Think of it as the Goldilocks zone for mulch containment.
You can toss that sod in the compost pile, use it to patch bare spots in your lawn, or, ya know, give it to your neighbor who’s always borrowing your stuff anyway.
Smoothing and Shaping the Edge
Once you’ve got your trench, take a few extra minutes to shape and smooth the inner wall of the edge. You want a nice 90-degree angle between the lawn and the bed, so it holds up over time.
I like to use a hand trowel to clean things up, especially around tight curves or corners. It’s the kind of detail work that makes your edge look crisp—like, Pinterest-worthy crisp.
Optional: Add Edging Materials
If you want to install a permanent edging material, now’s the time. Brick, metal, stone, rubber—you do you. Each one has its own vibe, so choose based on what matches your garden style and how much maintenance you’re up for.
Just remember: dig deeper trenches if your edging material requires it, and always check for level as you install. Nobody wants a wavy brick line. That’s cute on curtains, not on flower beds.
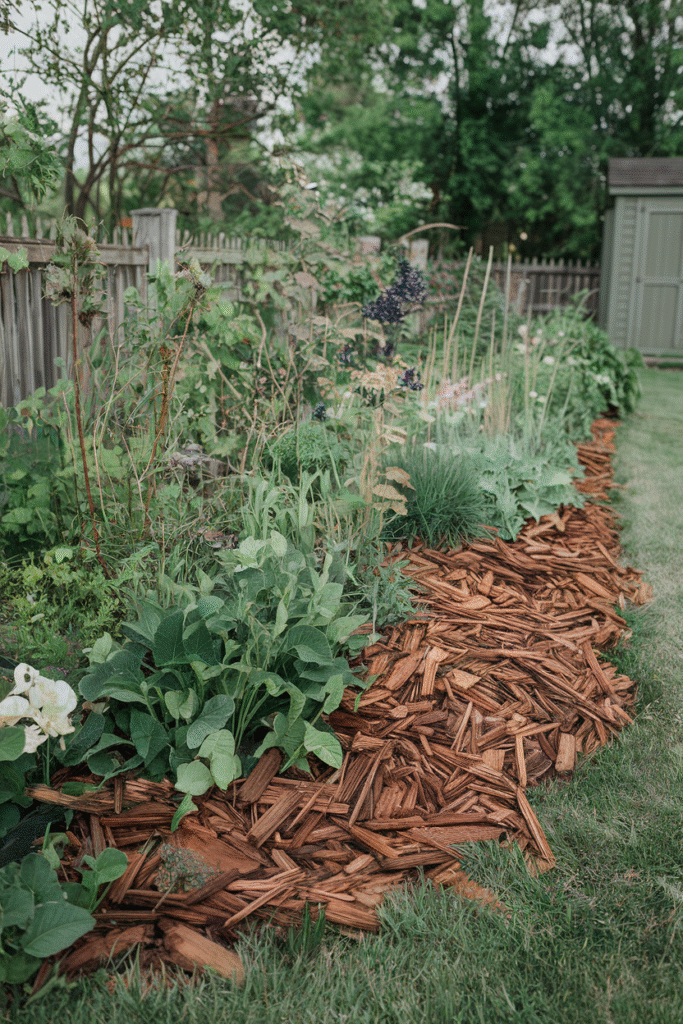
Mulching the Edge (Because Bare Dirt Is Just Sad)
Once your edge is in place, it’s time to mulch your flower bed. I’m a firm believer in mulch—it keeps weeds down, moisture in, and everything looking tidy. But when you’ve got a nice edge, it also helps keep the mulch inside the bed instead of sprinkling itself across your lawn like confetti.
Mulch Like a Pro
- Keep the mulch a couple inches away from plant stems.
- Aim for 2–3 inches thick—more than that and you’re just wasting money.
- Use a rake to level it out and tuck it into the edge.
Pro tip: mulch looks best when it follows the shape of your bed and doesn’t spill over the edge like an overfilled latte. Keep it contained and your whole yard will thank you.
Maintaining the Edge (Yes, It’s a Thing)
You did the hard work, now you just have to keep it looking fresh. Luckily, maintenance is way easier than creating the edge in the first place.
Touch-Ups With a Half-Moon Edger
Every month or so, go over the edge with a half-moon edger or flat shovel to clean it up. Grass has zero chill and will try to sneak back in. Don’t let it win.
Trim Along the Edge After Mowing
Use a string trimmer to clean up right along the edge after mowing. Trust me, it makes a huge difference. That final touch makes your yard go from “meh” to magazine cover material.
Choosing the Right Edging Style for Your Garden
Still figuring out what kind of edge vibe you want? Here’s a quick breakdown of popular edging styles:
Natural Edge
This is the method we just walked through—digging a shallow trench for a clean, minimalist look. No materials, no fuss. It’s simple, beautiful, and honestly my go-to most of the time.
Brick or Stone
Perfect for a cottage garden or traditional vibe. They hold mulch in place and give that charming, “I drink tea outside” kind of look.
Metal or Plastic Strips
Modern, sleek, and super low-profile. These are great for curved beds and formal garden designs. Just be careful with the sharp edges during installation.
Wood or Timber
These work well for raised beds or veggie gardens. Just make sure the wood is rot-resistant, because no one likes surprise crumble zones.
Each of these edging types has pros and cons, so pick what fits your garden style, maintenance tolerance, and—let’s be honest—your budget.
Final Thoughts: Go Forth and Edge With Confidence
Creating an edge for a flower bed isn’t just a “nice to have”—it’s a game-changer. It keeps your yard looking sharp, your plants contained, and your mulch exactly where it belongs. Plus, it adds that little extra wow that says, “Yeah, I totally know what I’m doing out here.”
So whether you go natural, stack some bricks, or install sleek metal lines, just remember: your garden, your rules. And hey, if it’s not perfect the first time, no biggie. That’s what next Saturday is for 😉
Happy edging! 🌼